Removing links from a Rolex bracelet is a manageable task at home, provided you have the right tools: a 1.6mm screwdriver for Oyster bracelets, a 1.4mm screwdriver for Jubilee and President bracelets, a bracelet holder, and Loctite 222 threadlocker. Remove an equal number of links from each side of the clasp, apply threadlocker on reassembly, and work slowly.
Your Rolex arrived. It looks exactly the way you pictured it. And it doesn't fit.
That gap between your wrist and the bracelet isn't just uncomfortable. It's a safety issue. A loose bracelet slides around, catches on doorframes and car seats, and puts uneven stress on the clasp over time. On a watch that may be worth tens of thousands of dollars, that's a risk worth eliminating before you wear it out the door.
The good news: you can size a Rolex bracelet at home without shipping the watch anywhere or paying a service fee. What it takes is the correct tools, a clean workspace, and the patience to go slowly. This guide covers the full process for Oyster, Jubilee, and President bracelets, how half links and Glidelock extensions fit into the picture, what it typically costs to have it done professionally instead, and the mistakes that trip up even people who've done this before.
Key takeaways
-
Rolex bracelets ship with extra links because wrist sizes and Authorized Dealer inventory vary. Sizing it to your wrist is expected, not a sign of a poor fit out of the box.
-
Oyster bracelets use 1.6mm screws. Jubilee and President bracelets use 1.4mm screws. Using the wrong bit is the single most common cause of damage.
-
Always remove links in equal numbers from both sides of the clasp to keep it centered.
-
Loctite 222 (a low-strength, purple threadlocker) keeps the screws from working loose during daily wear.
-
Newer Oyster bracelets often include a Glidelock or Easylink extension system, which lets you fine-tune fit without removing a link at all.
-
Vintage watches, corroded screws, and sentimental or high-value pieces are good reasons to let a professional handle it.
Why Your Rolex Bracelet Probably Needs Adjusting
Almost every watch bought from an Authorized Dealer needs sizing. Rolex manufactures bracelets to fit a range of wrist sizes, so they typically arrive with a few extra links attached. That's by design. Dialing in the exact fit is left to the owner or the dealer.
Wrist size shifts more than most people expect. Temperature, time of day, hydration, and even the salt content of your last meal all affect how a bracelet sits. A watch that feels snug in the morning can feel loose by evening.
Seasonal changes, especially the shift from winter to summer, often call for removing or adding a link. And if you're resizing a Rolex to sell it or hand it down, setting the bracelet back to a neutral size is standard practice among dealers and private sellers alike.
The target fit is simple: you should be able to slide one finger under the bracelet with light resistance. Too loose, and the watch rotates around your wrist. Too tight, and it becomes uncomfortable within an hour, even though it looked fine in the mirror.
Which Rolex Models Use Which Bracelet

Bracelet type isn't random. It's tied to the model line, and knowing which one you have determines your screw size and your tools before you start.
-
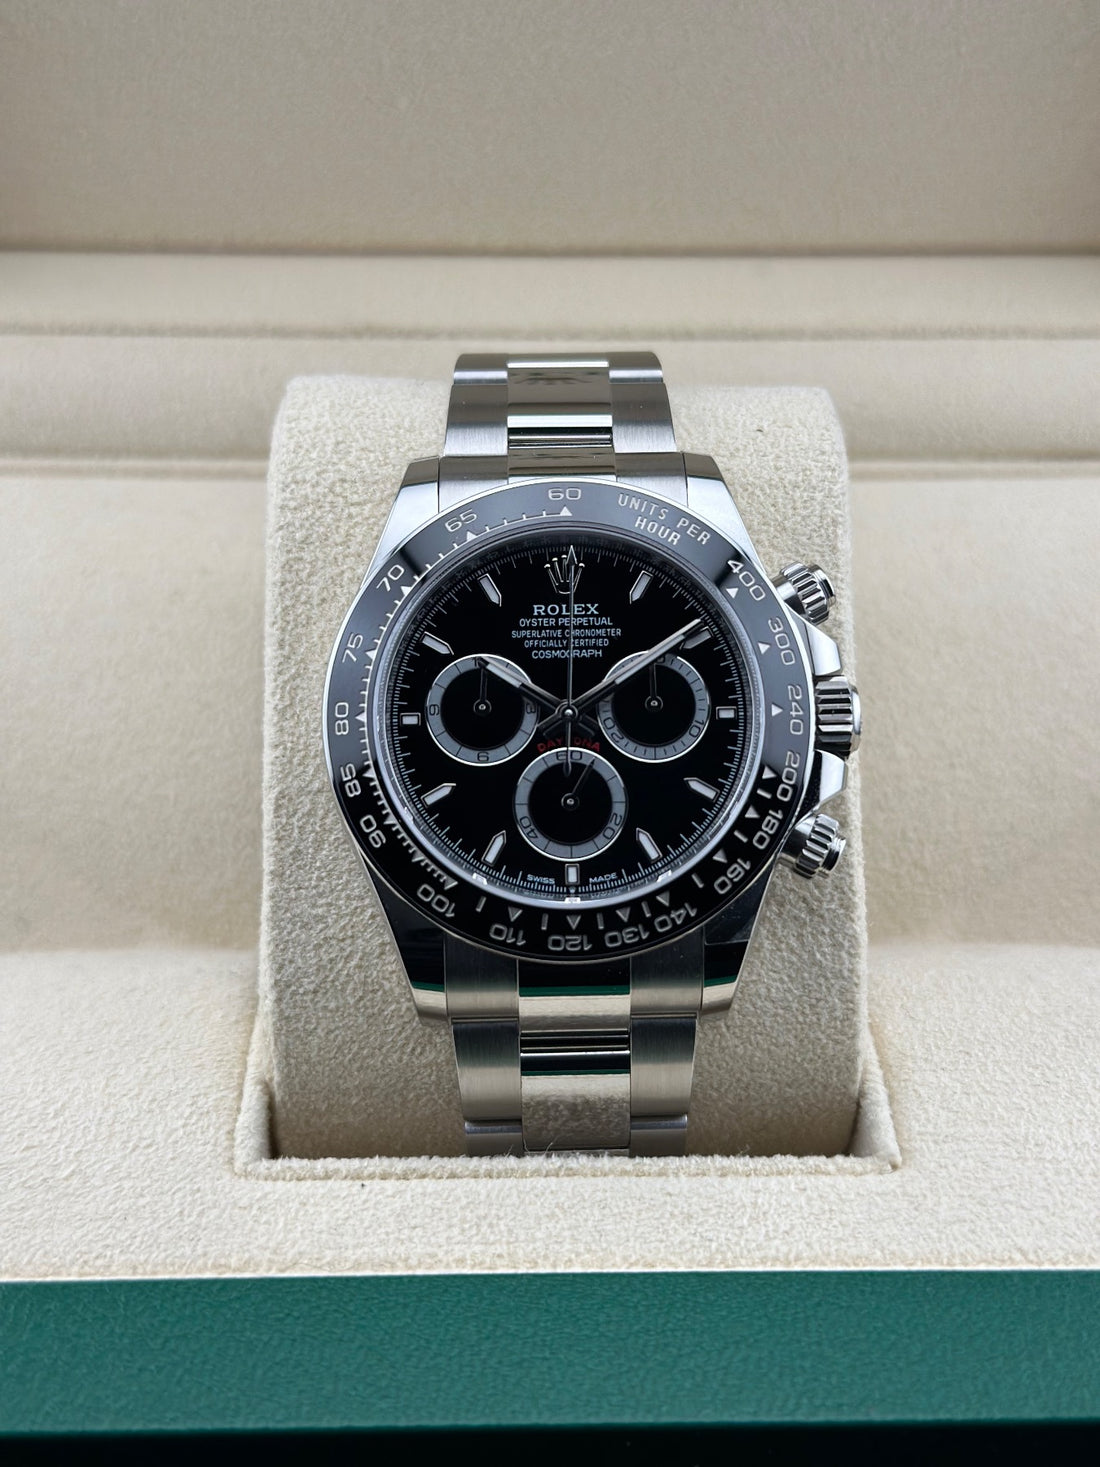
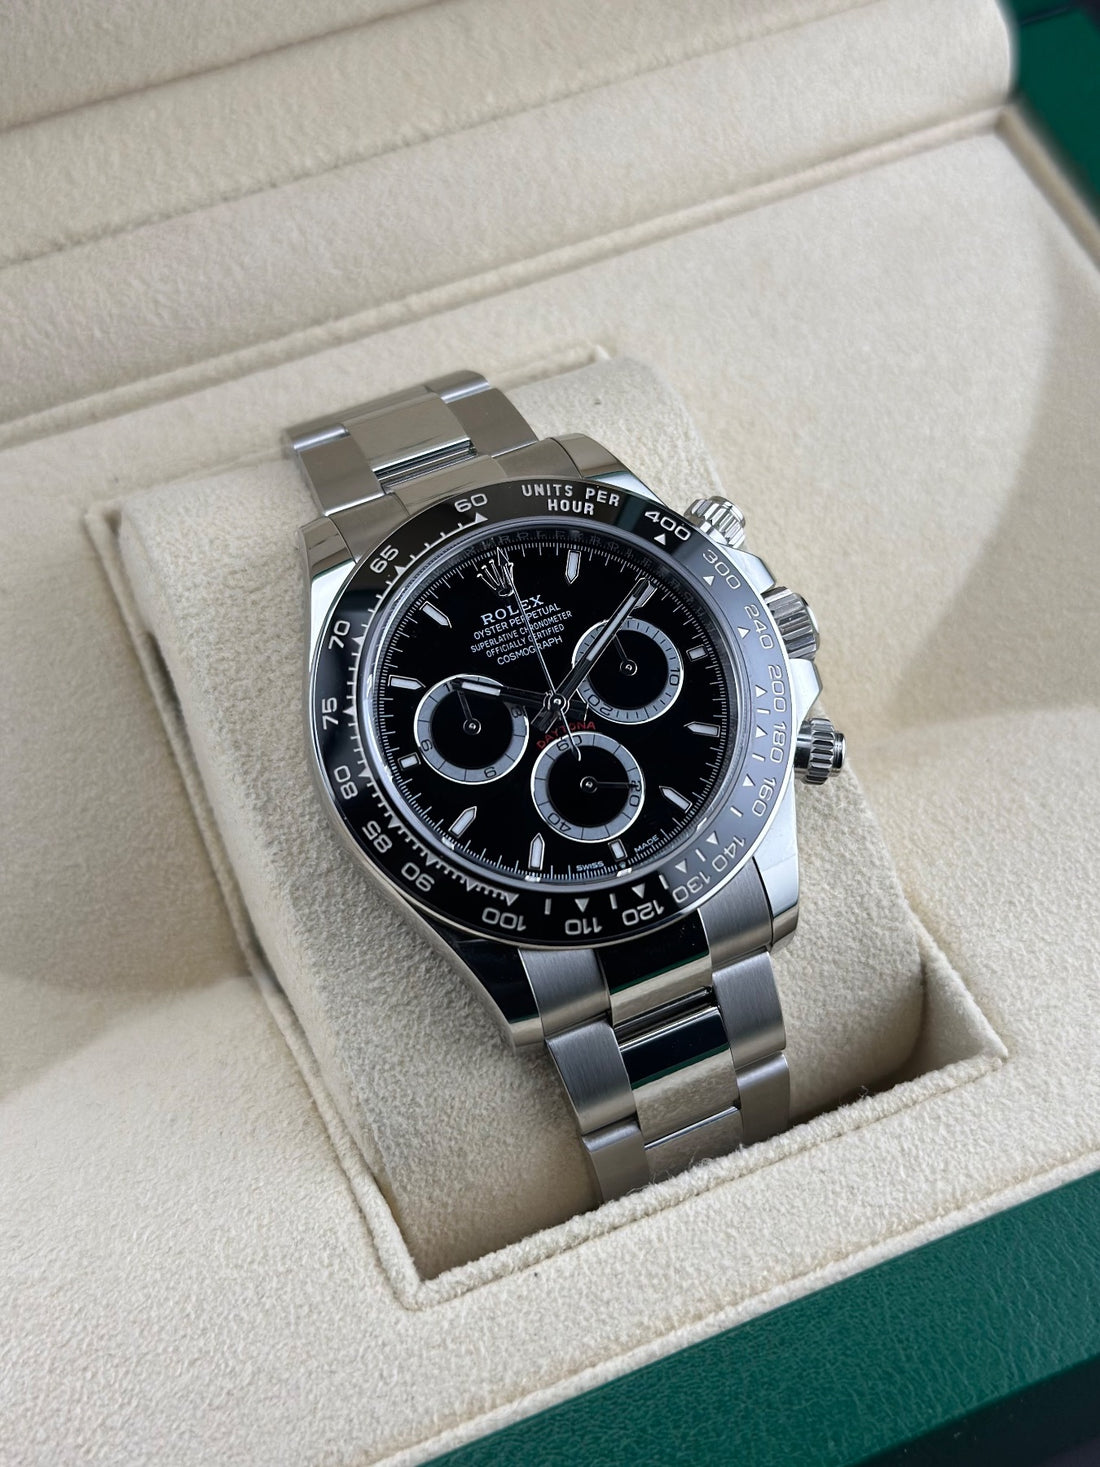
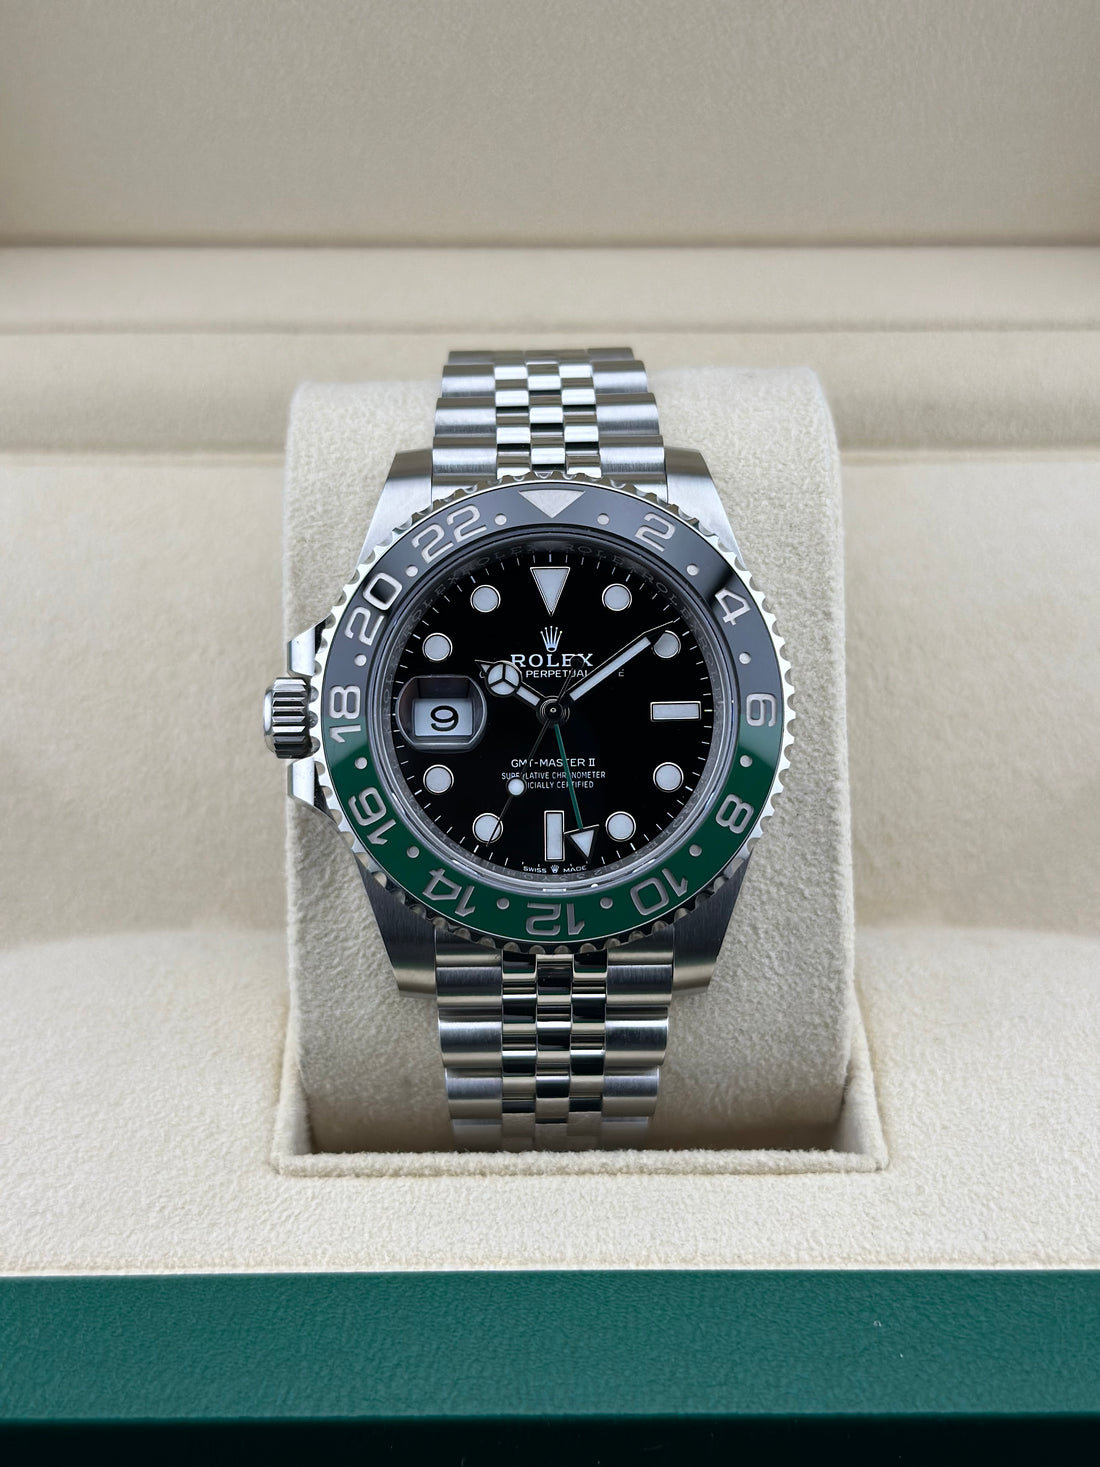
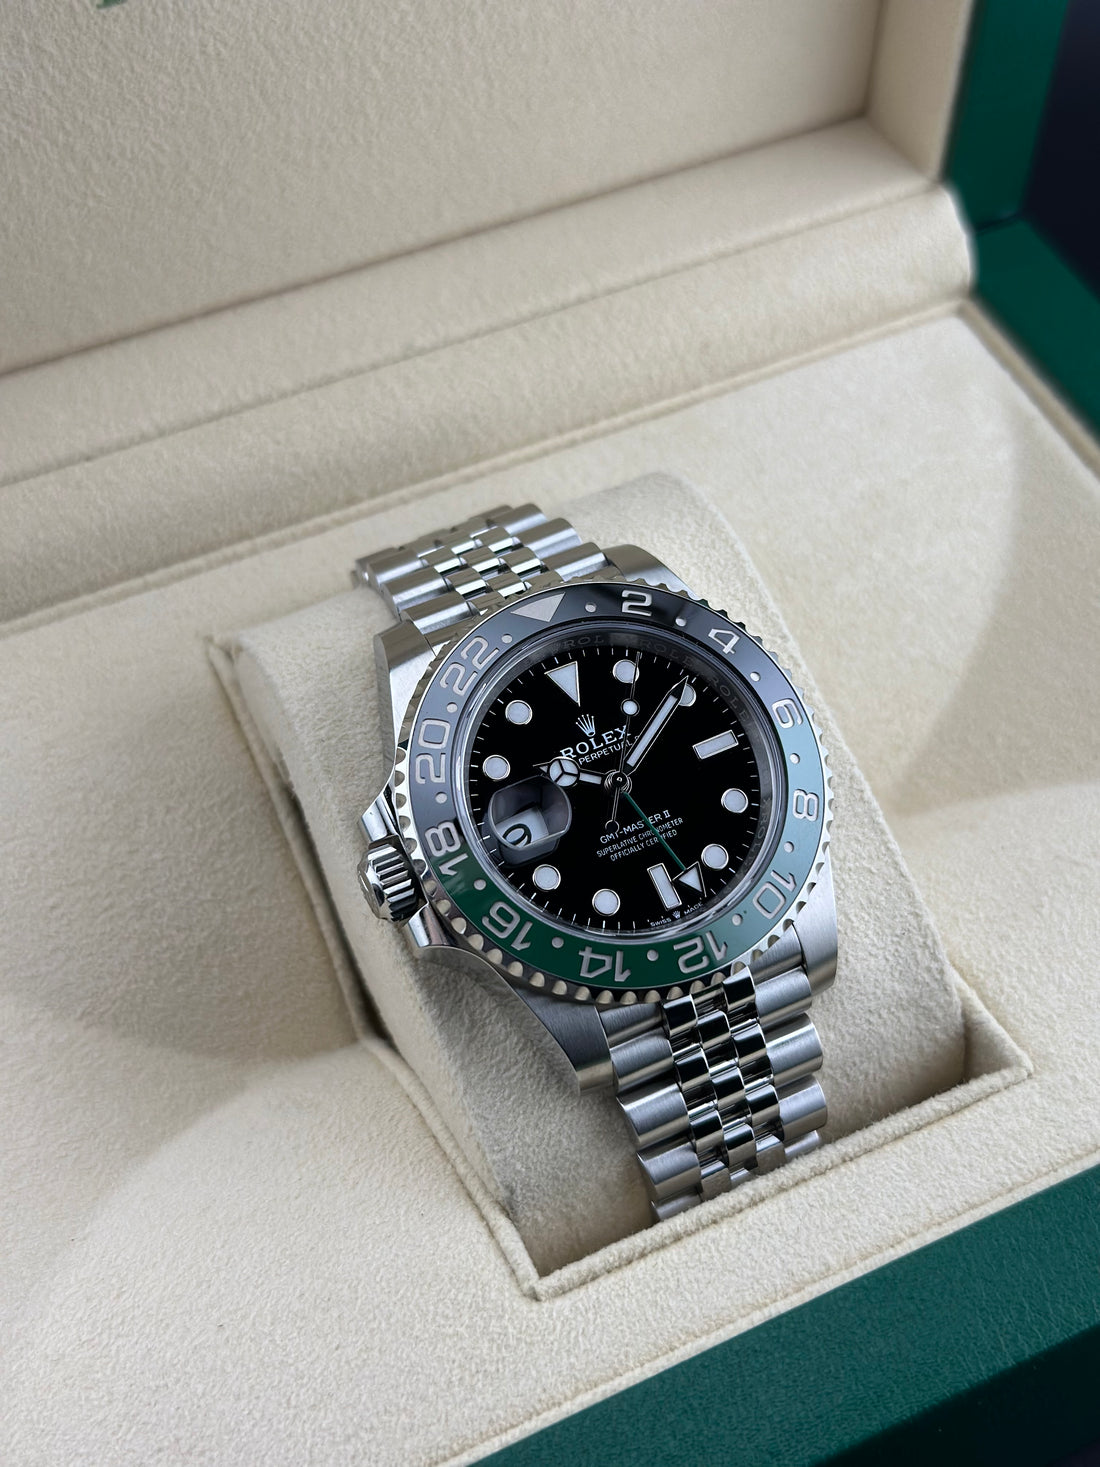
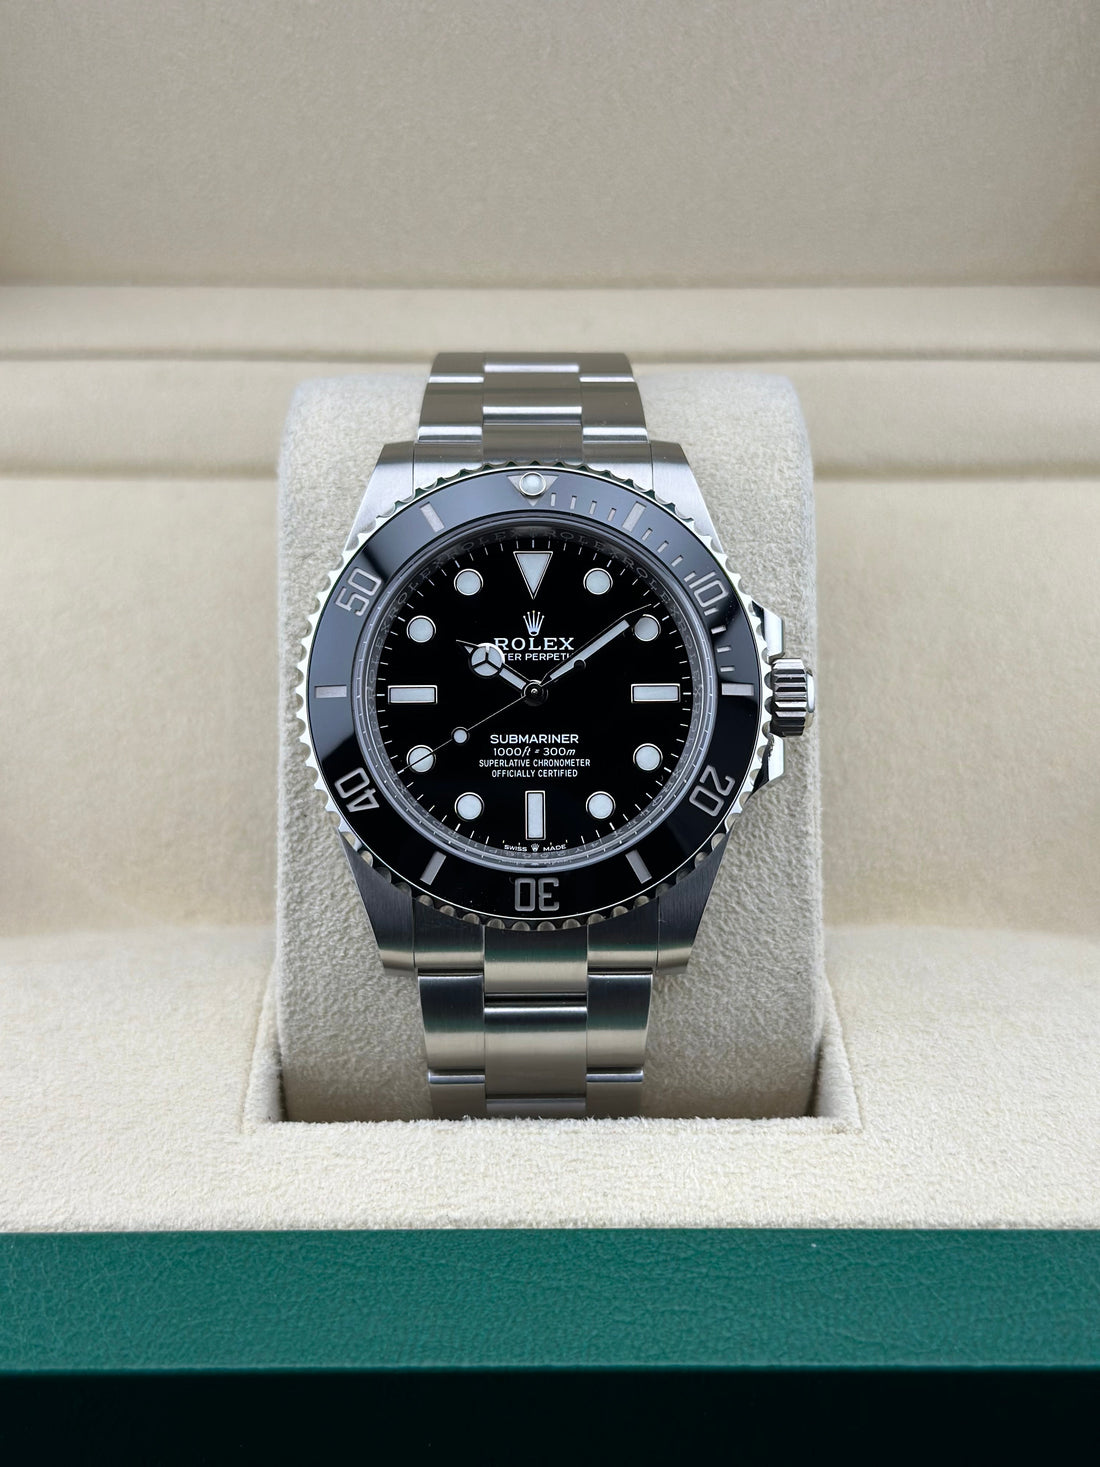
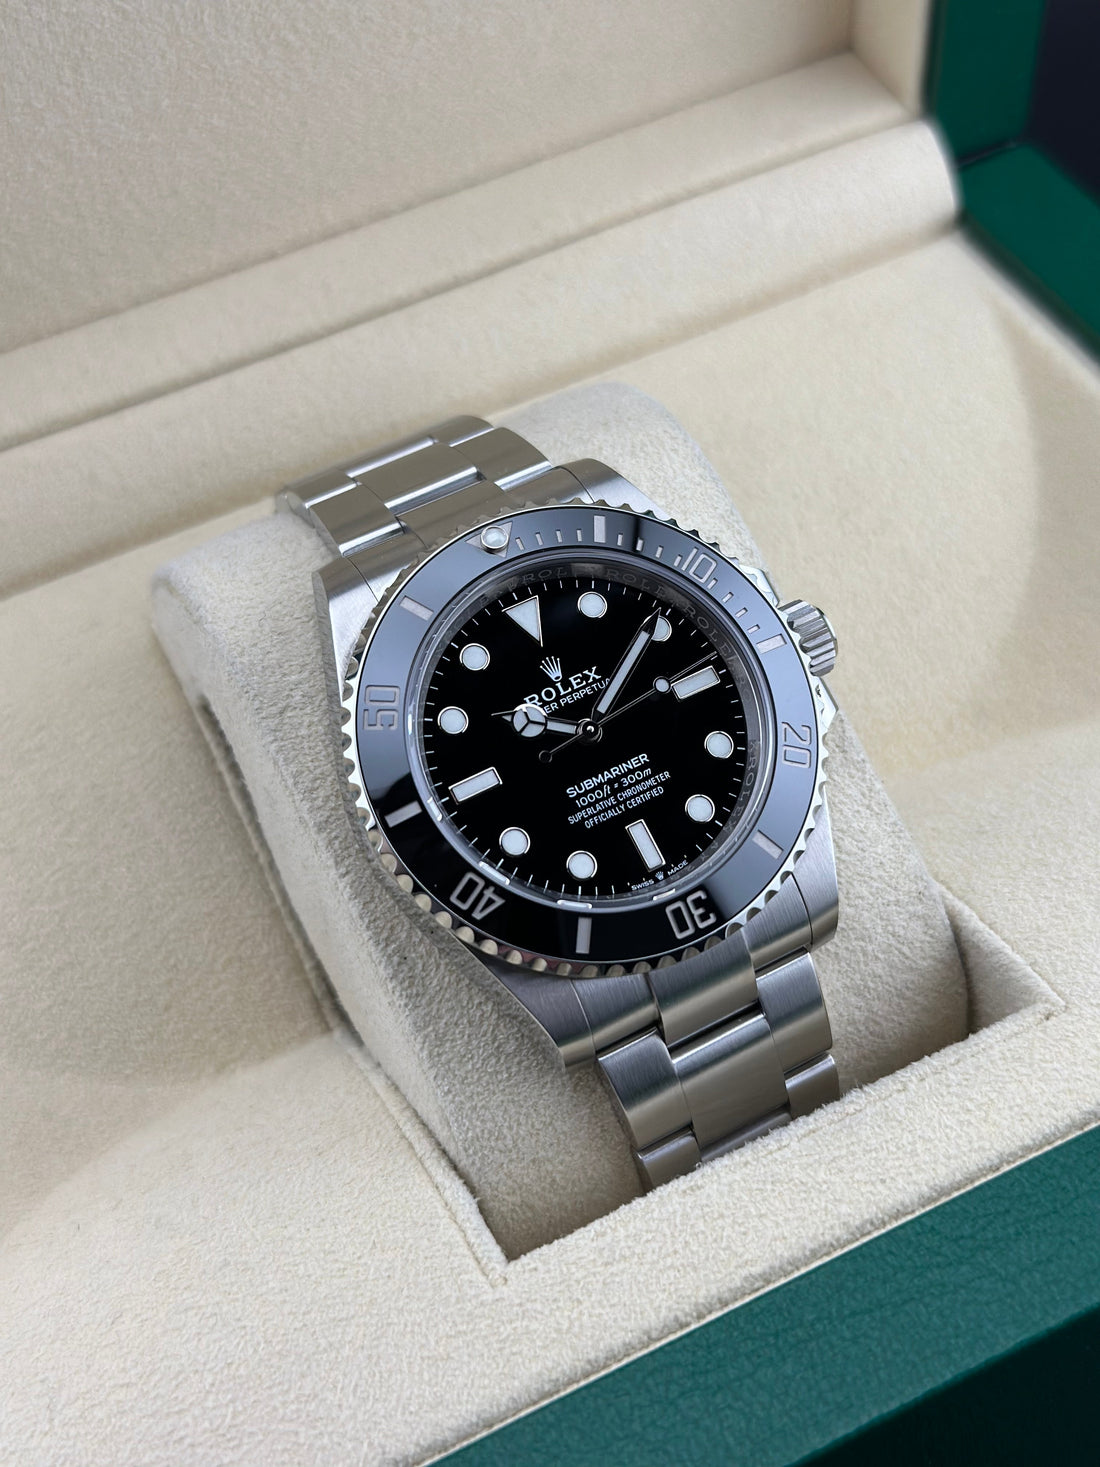
Oyster bracelet: the most common Rolex bracelet, found on the Submariner, GMT-Master II, Datejust, Oyster Perpetual, and most sport models. Three-piece links, 1.6mm screws.
-
Jubilee bracelet: a five-piece link design most associated with the Datejust, also available on some Sky-Dweller and GMT-Master II references. 1.4mm screws.
-
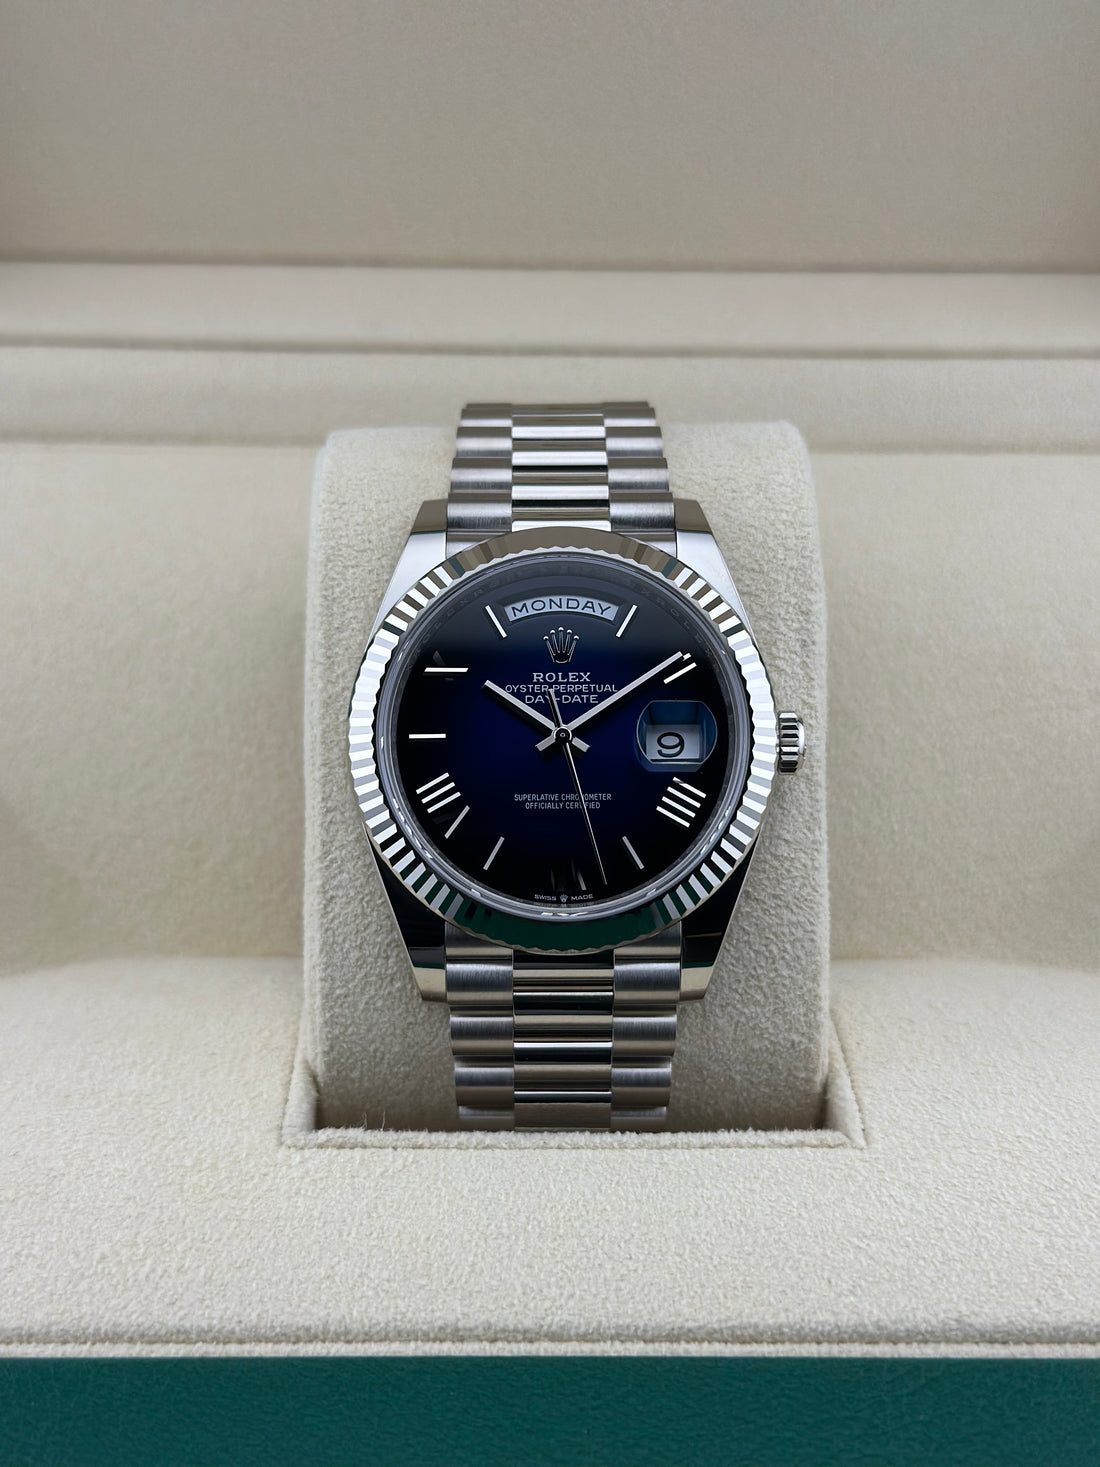
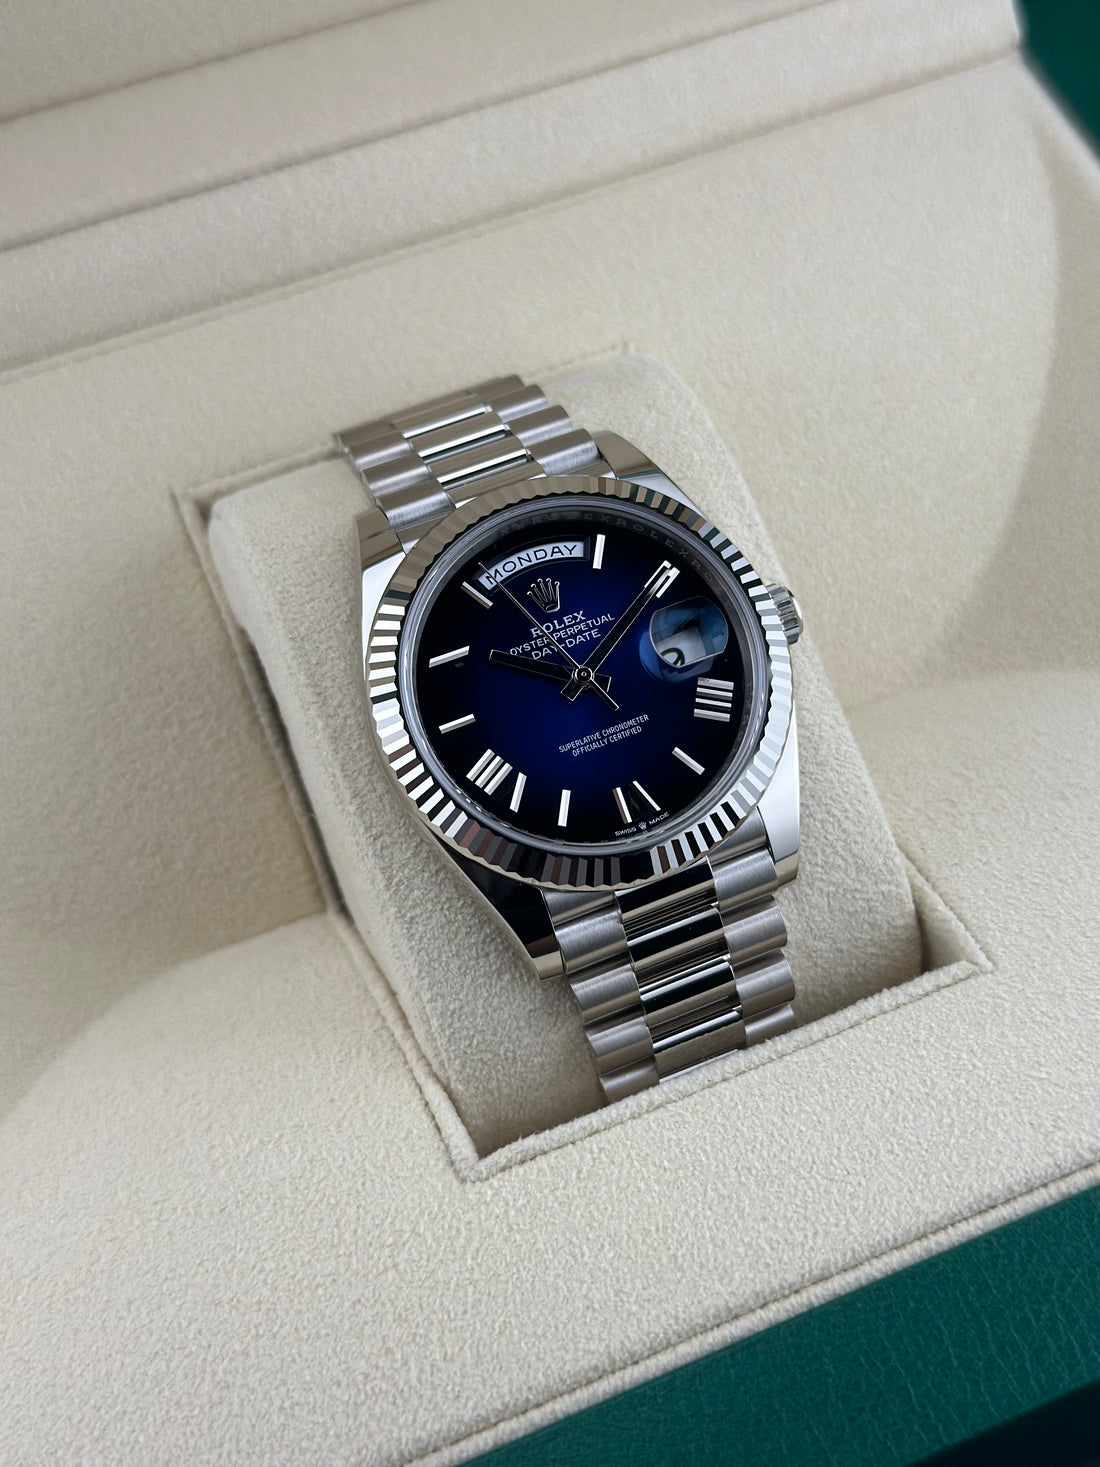
President bracelet: exclusive to the Day-Date, with semi-circular three-piece links and a concealed clasp. 1.4mm screws.
If you're not sure which bracelet is on your watch, check the reference number on the case back or compare the link shape against the descriptions above before you buy a screwdriver.
Tools You Need to Remove Rolex Links
Cutting corners on tools is where things go wrong first. A slipped screwdriver can gouge a link, round off a screw head, or scratch the case, and that kind of damage is expensive to undo. Buy the right tools before you touch a screw.
|
Tool |
Purpose |
|---|---|
|
Jeweler's screwdriver set |
Needs 1.6mm (Oyster) and 1.4mm (Jubilee/President) hollow-ground flathead bits |
|
Watch bracelet holder |
Clamps the bracelet steady and prevents scratching while you work |
|
Spring bar tool |
Needed if you're detaching the bracelet from the case |
|
Loctite 222 (purple) |
Low-strength threadlocker that keeps screws from loosening with wear |
|
Soft cloth or watch mat |
Protects the dial and bracelet from the work surface |
|
Small tray or parts container |
Keeps screws and pins from rolling away and disappearing |
Removing Links from a Rolex Oyster Bracelet
The Oyster is Rolex's most common bracelet: three-piece links, solid construction, and the most forgiving of the three to size at home.
-
Step 1: Set up your workspace. Lay a soft cloth on a flat, stable surface. Set out your tools and keep a small tray nearby for screws and pins.
-
Step 2: Work out how many links to remove. Wear the watch and pinch the bracelet to judge the slack. Count the links you want gone, then split that number evenly. If you need to remove four total, that's two per side.
-
Step 3: Secure the bracelet in the holder. Screw heads should face up. The bracelet needs to stay completely still. Movement while unscrewing is what causes scratches.
-
Step 4: Find the removable links. Flip the bracelet over. You'll see small arrows etched into the underside of the links near the clasp, showing which direction to turn the screws. The links closest to the clasp are usually the ones designed to be removed.
-
Step 5: Unscrew the links. Insert the 1.6mm screwdriver and turn counter-clockwise, following the arrow. Use steady, even pressure rather than force. If a screw resists after a few turns, add a small drop of oil and let it sit for a few minutes before trying again.
-
Step 6: Remove the screw and pin. Once the screw is free, set it in the tray right away. The pin sometimes comes out with the screw; if not, push it through from the opposite side with a pin remover or spring bar tool.
-
Step 7: Separate the link. With the pin and screw out, the link should come apart cleanly. Keep everything you remove. You may need it again if the watch changes hands.
-
Step 8: Repeat on the opposite side. Mirror every removal across both sides of the clasp.
-
Step 9: Reassemble with Loctite. See the reassembly checklist below.
-
Step 10: Test the fit. Wear the watch for a few minutes and move your wrist through a full range of motion. It should feel secure without restricting circulation.
Removing Links from a Rolex Jubilee Bracelet
The Jubilee, with its five-piece links and dressier profile, follows the same process as the Oyster with one important difference: the screws are smaller, typically 1.4mm. A 1.6mm bit on a Jubilee screw is a reliable way to round the head and ruin it.
Set up your workspace and assess fit the same way as with the Oyster. Locate the directional arrows on the underside, which serve the same purpose here. The five-piece link construction makes each individual link more delicate, so work carefully and keep track of small parts so nothing drops.
Because the screws are smaller, they reach their torque limit faster during reassembly. Stop as soon as the screw head sits flush with the link surface.
Removing Links from a Rolex President Bracelet
Found only on the Day-Date, the President bracelet has semi-circular three-piece links and a concealed clasp. It uses 1.4mm screws, and the curved link geometry makes screw access slightly trickier than on the Oyster or Jubilee. The process itself, though, is the same.
One thing specific to the President: the concealed clasp makes symmetrical removal even more important. An uneven adjustment throws the clasp off-center, which looks wrong on the wrist and puts uneven stress on the mechanism over time.
Set up your workspace, assess the fit, secure the bracelet, follow the arrows, and remove an equal number of links from each side. Reassemble with Loctite and check the fit before you consider it done.
Half Links and Glidelock: When a Full Link is Too Much
Sometimes a full link removes too much or too little slack, and there's no in-between size available. This is where half links and Rolex's built-in extension systems come in.
Many current-production Oyster bracelets, including those on the Submariner and GMT-Master II, include a Glidelock extension in the clasp. It lets you adjust the bracelet length in small increments, roughly 2mm at a time, without tools, by sliding a small lever. It's designed for quick changes, like accounting for wrist swelling in warm weather, without touching a screw.
The Easylink system, found on some Datejust and other Oyster models, adds a single spring-loaded extension link that gives you about 5mm of adjustment with a push of a fingernail, no screwdriver required.
If your bracelet has one of these systems, check it before you remove a full link. It may solve the fit problem on its own. If you still need a permanent adjustment beyond what Glidelock or Easylink offers, the link removal steps above still apply. Some references also support true half links, thinner link segments that split the difference between removing and keeping a full link, though these typically require a service center or watchmaker to source and fit correctly since they aren't part of a standard at-home tool kit.
Reassembly Checklist
A few rules apply no matter which bracelet you're working on, so it's worth keeping them in one place rather than repeating them per bracelet type.
-
Hand-thread first: Start every screw by hand before using a screwdriver. If it spins with no resistance, the threads are misaligned or damaged, and you should stop.
-
Use Loctite sparingly: One small drop per screw is enough. Excess threadlocker can seep onto the bracelet surface and make future adjustments harder.
-
Stop at flush, not tighter: The screw head should sit level with the surrounding link, never sunken or proud. Extra torque past that point strips the threads.
-
Don't force a misaligned pin: If a pin won't seat, stop and use a gentle rocking motion instead of pressure. Forcing it through misaligned holes can damage the link permanently.
-
Tug-test every junction: After reassembly, pull gently on both sides of each adjusted link to confirm it's secure before you wear the watch.
Common Mistakes that Damage Rolex Bracelets
Most of the expensive mistakes here are avoidable. Watch for these:
-
Wrong screwdriver size: A 1.6mm bit in a 1.4mm screw rounds the head almost immediately. Match the bit to the bracelet before you start.
-
Skipping the bracelet holder: Holding the bracelet by hand while unscrewing all but guarantees a slip.
-
Ignoring the directional arrows: They exist for a reason. Turning a screw the wrong way puts force on the wrong side of the mechanism.
-
Removing links from one side only: This throws the clasp off-center and creates uneven stress over time. Always balance removal across both sides.
-
Skipping the Loctite: Without threadlocker, normal wrist movement gradually loosens the screws, and a bracelet missing a screw can lose a link, or the watch itself.
-
Rushing: Nearly every stripped screw and scratched link traces back to someone in a hurry. Set aside 30 minutes and the process is straightforward.
DIY vs. Professional Sizing: Cost, Time, and Risk
Not everyone should do this at home, and the trade-offs are worth weighing honestly before you decide.
|
Option |
Typical cost |
Turnaround |
Risk level |
|---|---|---|---|
|
DIY at home |
Cost of tools only (often $20 to $50 for a starter kit you keep) |
20 to 40 minutes |
Moderate to high if you're inexperienced or the watch is vintage |
|
Authorized Dealer |
Often free or low-cost on watches purchased there |
Same day to a few days |
Low |
|
Independent watchmaker |
Roughly $10 to $30 per service, though this varies by shop and region |
Same day in many cases |
Low |
|
Mail-in service |
Service fee plus shipping and insurance costs |
Several days to a few weeks |
Low, but longer wait and time without the watch |
These figures are general industry norms, not fixed prices. Always confirm current pricing directly with the dealer or watchmaker you're considering, since it varies by location, watch model, and whether the watch was purchased there.
Prefer to skip the screwdriver altogether? Our watchmakers size bracelets in-house on qualifying purchases, and can also handle vintage or delicate pieces that aren't good DIY candidates. Contact Music City Timepieces to ask about sizing on your next Rolex.
Does Sizing a Rolex Bracelet Affect the Warranty?
Generally, no. Rolex's international warranty covers the movement against manufacturing defects, and routine bracelet sizing, done carefully with the correct tools, doesn't touch the movement or the case. That said, using damaged parts, forcing a misaligned pin, or stripping a screw thread can create damage that a warranty claim won't cover, since that damage results from the adjustment rather than a manufacturing defect. If your watch is still under warranty and you're unsure, it's worth checking with an Authorized Dealer or reviewing your warranty card before attempting a DIY fix.
Resizing Before You Sell or Trade in
If you're planning to sell a Rolex or trade it toward another piece, resetting the bracelet to a neutral length is worth doing beforehand. A bracelet sized tightly to one wrist can make a watch harder to sell, since a buyer with different proportions will need to size it again before wearing it comfortably. Keeping the original removed links with the watch, in a small bag or the original box, also reassures a buyer or a dealer that nothing is missing.
If you're considering a trade-in or sale, Music City Timepieces can evaluate your Rolex as-is and handle any resizing needed as part of the transaction.
Frequently Asked Questions
1. How many links should I remove from a Rolex bracelet?
It depends on your wrist and how loose the bracelet currently sits. Most people remove one to three links per side. Pinch the bracelet at your desired fit, count the excess links, and divide that number evenly between both sides of the clasp.
2. How much does it cost to remove a Rolex link?
Many Authorized Dealers size bracelets for free on watches bought there. Independent watchmakers typically charge around $10 to $30. Doing it yourself costs only the price of the tools, which you'll keep for future adjustments.
3. Can I remove Rolex links myself without damaging the watch?
Yes, with the correct screwdriver size, a bracelet holder, and a patient approach. The most common cause of damage is using the wrong screwdriver size or rushing the process, not the task itself being inherently difficult.
4. Does removing links devalue a Rolex?
No, as long as the removed links are kept with the watch and the adjustment is done cleanly, without stripped screws or scratched links. Buyers generally expect a used Rolex to have been sized at some point.
5. What's the difference between a Rolex half link and a full link?
A full link is a standard bracelet segment, while a half link is a thinner segment used to fine-tune fit between two full-link sizes. Not every bracelet supports true half links, and fitting one often requires a watchmaker rather than a home tool kit.
6. Do I need Loctite to reassemble a Rolex bracelet?
Yes. Loctite 222 is a low-strength threadlocker that keeps the tiny screws from loosening with daily wrist movement. Skipping it increases the chance of a screw working loose over time.
7. What screwdriver size do I need for a Rolex bracelet?
1.6mm for Oyster bracelets, and 1.4mm for Jubilee and President bracelets. Using the wrong size is the most common cause of a rounded or stripped screw head.
8. Should I take my Rolex to a professional instead of doing it myself?
If your watch is vintage, has visibly corroded screws, or holds significant sentimental or monetary value and you've never adjusted a bracelet before, professional sizing is usually the safer and often cheaper option compared to the cost of fixing a mistake.
When to Let a Professional Handle It
DIY sizing is realistic for most watch owners, but there are times to hand it off. Vintage screws can be more fragile and prone to corrosion than those on a current-production piece, and forcing a stuck screw on an older watch can detach it from the link entirely, leading to a repair bill well beyond the cost of standard sizing. If your watch carries significant value and you've never done this before, professional sizing is usually the cheaper option once you account for the risk of a mistake.
Many Authorized Dealers size a bracelet at no charge, especially on watches purchased through them. Independent watchmakers and reputable pre-owned retailers typically charge between $10 and $30. Either way, you're paying for expertise and accountability, which for the right watch is worth it.
The Right Fit, on the Right Watch
A properly sized bracelet changes how a watch wears. It stops rotating, stays where you put it, and moves with your wrist instead of against it. That's the real difference between a watch you reach for every day and one that constantly needs adjusting.
If you've followed this guide, you have what you need to size your Rolex bracelet at home with confidence. Take your time, use the right tools, and don't skip the Loctite.
And if you're still looking for the right Rolex to size in the first place, Music City Timepieces carries a wide selection of pre-owned Rolex watches across Oyster, Jubilee, and President bracelet types, including the Datejust, Submariner, and Day-Date. Our specialists can answer questions about fit, condition, and value, and help you find the right piece for your wrist and your collection.
Reviews Matter
For Music City Timepieces, having 200+ customer reviews provides meaningful evidence of an established client track record and reinforces its position as a trusted source for luxury timepieces. Its own published material similarly emphasizes customer reviews as indicators of dealer reliability and credibility. More than simply supporting individual purchases, a strong body of customer experiences can help demonstrate a relationship-focused approach—giving collectors greater confidence that they are dealing with a knowledgeable and accountable specialist capable of supporting them beyond a single transaction and building lasting client relationships.